-->
Showing posts with label mobile. Show all posts

0 comments

Hey guys, we are back again here,

Requirements: Android 4.2 and up | Size: 3,2 MB
 
Wifi password all in one contains all the applications to protect you from hackers and crackers.
 
Includes four functions:
- View the list of WiFi networks available in your area
- Generate a password web, wpa and wpa2 for your wifi router
- See who is on your wifi network
- See the signal and all the information about your wifi
Optimized for mobiles and tablets.

Compatible with Android 8.0 and more.

What's New:
- Optimizations and improvements
- Compatible with Android 8.0
- Updated libraries
- Bugs fixed


Hey Visitor, Your IP is here:)
IP

About The Author


Hi! I am Ajay Kumar Kalva, Currently serving as the CEO of this site, a tech geek by passion, and a chemical process engineer by profession, i'm interested in writing articles regarding technology, hacking and pharma technology.
Follow Me on Twitter AjaySpectator & Computer Innovations

Read More »

0 comments


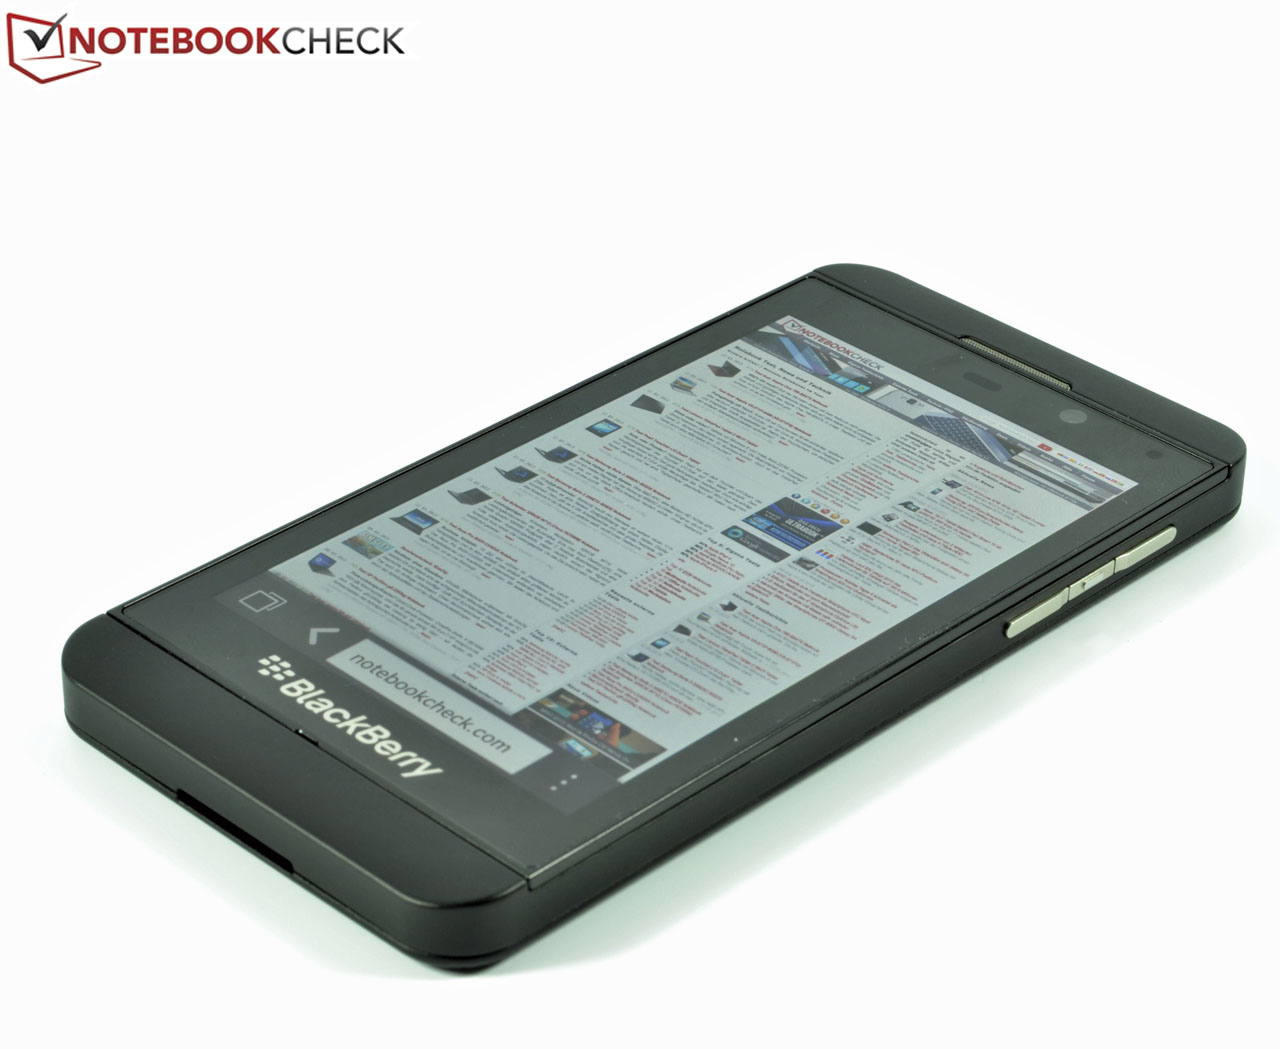
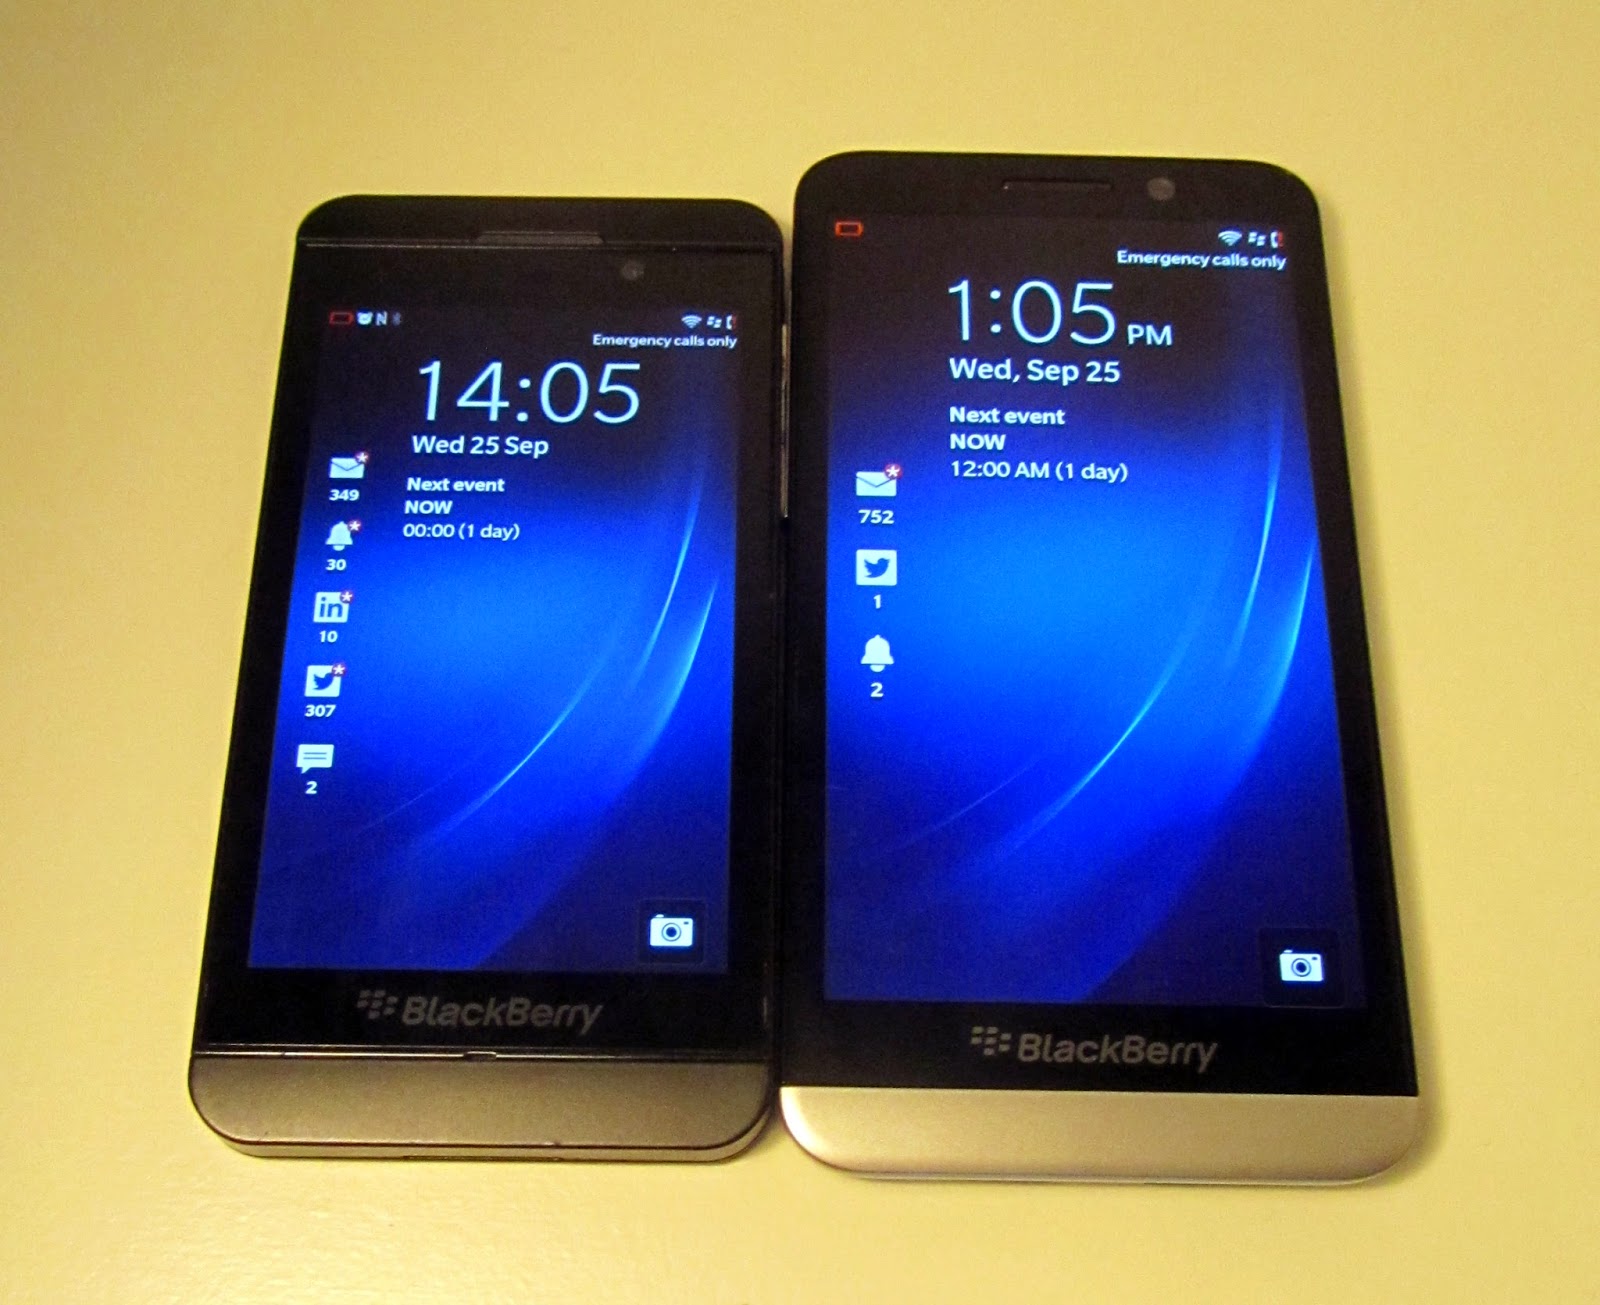
Back after many days, got a mail from one of my readers about blackberry z10 smartphone, the problem is that "My new smartphone Blackberry z10 charging getting stopped at 62% and showing as that the battery is full, and not getting much backup after upgrading to 10.3.1.1779, what to do?"

Solution:
unfortunately buddy i was using blackberry z10 too, and i'm too not getting backup after upgrading to 10.3, to get a better backup use 1) battery saving mode perfectly, 2) use a dark background instead of a white background and use some battery booster, 3) reduce the screen brightness to minimum, 4) reduce the screen timeout to 30seconds,

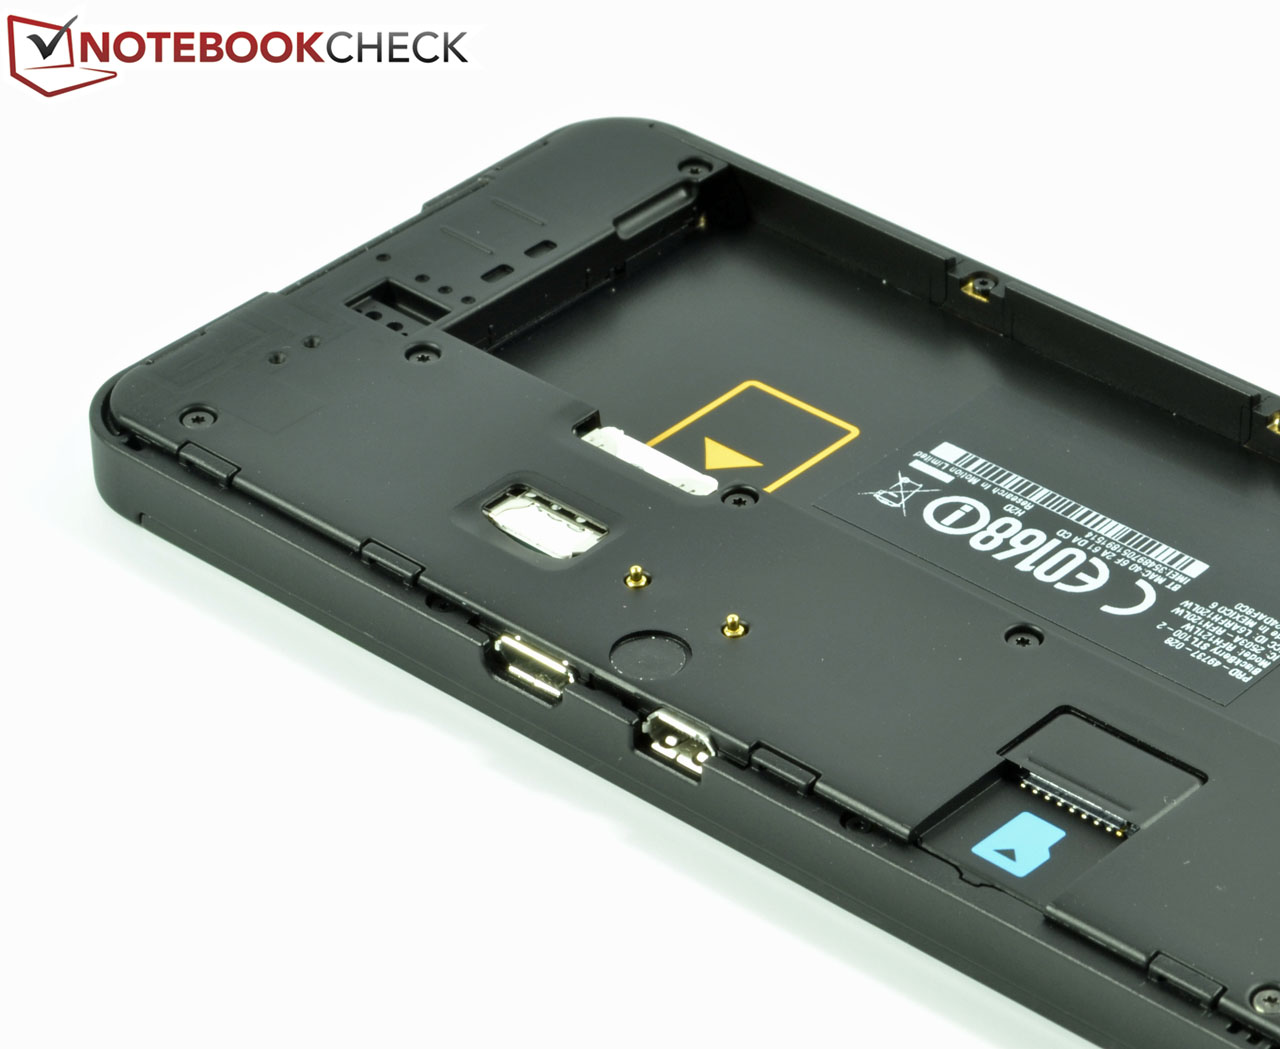
and coming to the charging matter, the solution that i gonna illustrate will be a bizzare for you but it will work like wine, after its showing fully charged at 62%, then keep it connected to wall charger and remove the backcase followed by  battery then the LED will blink and mobile will get shutdown, then immediately insert your battery, thats it, automatically your mobile switchon and you will see your mobile battery will get past that 62%, this sort of errors were calibration errors, dont worry, lets hope blackberry support desk will fix these errors in furthur updates.
author-pic About author
hiiii......, this is ajay , a chemical engineer by profession, a tech geek by passion, enjoys ethical hacking

Submit your Email Address to Get Free latest Articles/softwares Directly to your Inbox


Read More »

0 comments

Ever since the former company RIM has decided to release the Blackberry Z10, I have been eyeing on the device for quite some time now. I like the 4.2" clear and bright screen; a 1800mAh battery; light in weight (138g); packed with 2013 specifications including NFC and A-GPS as well as GLONASS. The veru first released OS10 on the Blackberry Z10 (BB Z10) was clunky and slow. I could not wait for the menu to move over to refresh as it was taking ages to do so.

A year after the launch of the BB Z10, Blackberry has released the latest OS 10.2.1 firmware to address many problems of the BB Z10 previously reported. Before I venture into the negativity of the BB Z10, it will be a good idea to discuss about the many good qualities of the BB Z10.

From my point of view, there are many good qualities of using the BB Z10. It goes without saying that the device is very light. I am also impressed with the fact that it has NFC and HDMI as well as the support of an external microSD card up to 64GB. I believe that the device will also support Sandisk's 128GB microSD card but I only have a 64GB Samsung Pro microSD card to test the device.

If you are an experienced Andriod or iOS user, you might find the OS 10 a little bit overwhelmed and you would require some time to get used to it. Initially I was reluctant to try using the BB Z10 but I have changed my mind when it has 2GB RAM and comes with a standard 16GB internal flash storage which you could increase the storage with an external memory card which I have discussed earlier.

I have no issues with the hardware of the device although it could be argued that the camera quality of the BB Z10 should have included a 6 lense element as well as a 13MP on the main camera. The main camera could record videos 1080p at 30fps where else the secondary camera is a 2MP digital camera with 720p recording at 30fps. I guess I could not complain because the shutter speed will put all Nokia Phones to shame. The shutter speed is as quick as the Iphone 5s. The picture quality as well as the video quality on the BB Z10 is superb under normal condition but suffered slightly under low light. The user must ensure that he/she is not taking any pictures or videos under too much light or else the picture will get disorientated. Moreover, there are not many camera functions to play with on the BB Z10. I guess the BB Z10 device is not meant to be used primarily for taking pictures.

What is important is that I am impressed with the improvements under OS 10.2.1 as compared to when the OS 10 was first lauched as well as the hardware of the BB Z10.

If there is a problem with the BB Z10, I would have to point it towards the lack of sufficient apps in the Blackberry World. However, this should not be a problem because a BB OS 10 user could install Google apps without any problem. The only problem is for the user to find the particular apk file to install. Apart from that, the device is still taking ages to boot up! It is also worst if you want to perform a system wide reset. If you do so, it will take around 15 minutes or more to reset the device. I believe that this is the slowest booting time for a device which I have ever come across for the last fifteen years since I've started meddling with mobile phones. I am not in favour of Blackberry Hub. It is clunky.

Before I conclude, I would like to take this opportunity to say that I am falling in love with the BB Z10. Coupled with the fact that it is now £180 for a brand new SIM free unit, I believe that the device is well worth trying and use it as a primary mobile phone.

Keep it up, Blackberry!
author-pic About author
hiiii......, this is ajay, woking as a technical engineer, a tech geek, enjoys ethical hacking

Read More »

0 comments

After offering chocolate (Kit-Kat), now Google is ready to serve you Lollipops. Google on Wednesday finally revealed the official name of its next version Android L — Android 5.0 Lollipop.
The newly released Android 5.0 Lollipop ships with the latest Motorola-made Nexus 6 smartphone and Nexus 9 tablet built by HTC, but the company did not make the Lollipop available for download to other users immediately. The older versions of Nexus devices will receive the Lollipop update in the coming weeks.
Lollipop features some significant changes to the Android platform with a sleek new user interface, cross platform support and improved performance via the new ART runtime engine. The operating system also offers better battery life, improved notifications, OpenGL ES 3.1 and 64-bit support, among other features.
Here are some most notable features of Android 5.0 Lollipop, along with some insight as to when you might be able to get your hands on it.
Google describes Lollipop as "the largest Android release yet," with more than 5,000 new APIs. So from the developer’s perspective, there is a lot for developers to explore. Technically, the release brings Android up to API level 21.


Still Having Problem..!!! Connect with Admin


 AJAY KUMAR
author-pic About author
hiiii......, this is ajay, woking as a technical engineer, a tech geek, enjoys ethical hacking

Read More »

0 comments
I have seen many wireless mouse and keypad. But all are very much costly. And just few month back I got this free application installed on my mobile. I works for me. So I would like to share my experience with you my friends.

If you are looking for a free wireless keypad or mouse for your desktop at free of cost? If No then just look at the benefits then decide what you want to do.

 Benefits:

  • Comfort and easy way to control laptop / PC from distance.
  • Volume Control while watching movie from distance.
  • Protect yourself from Big monitor screen by sitting at distance.
  • Write fast in mobile and get the display in computer
  • Make your document by speaking on mobile and get ready on your computer with smart voice recognition feature.
  • No need to type just speak it which you want to type.
  • Browse the Internet by just speaking the word from your mouth.
  • More reliable with many computer control features and shortcuts key.
Hope now it is yes, then this is for you guys. You need to have an Android mobile. You can use this phone as wireless mouse and keypad. It is very much easy to configure and use. I am using it from last month. It is very much stable and comfortable to use. I will show how to download, install, configure and use it.
Step 1:
Download application from google play. You need to search Winput LITE in search window. You can select the free version of it. Select it and download it. Make sure that you have necessary space available in your phone to install the application. Application size is not much big. It's around 2MB

Step 2:

After downloading make sure that You have configure your WiFi network connection. You can set up wireless router to do the same. connect your mobile with Wireless network.

Step 3:

Download the desktop software for the WInput from the below link. Install it. I will put the application in startup. So you need not to run it after power up.

Step 4:

Go to setting. You can go into setting menu by pressing the option key in your phone. Once you press option you will get the below screen.

Step 5:

Once you enter you can find different options. List of the options and its functions described below. Click on First Step.
First step
This is the action setting option to configure your mobile as wireless mouse. If you are connection through WiFi then you need to make sure that your device / mobile is connection to the computer or laptop via WiFi before entering into this step.


Server setting
This is the setting for the your computer or server.

Layout
Layout is for display and orientation setting.

Keypad
From here you can change the keypad setting like key volume.

Mouse
click mouse button for mouse setting. like middle mouse button, mouse sensitivity, scroll sensitivity and pinch zoom sensitivity.

Help & Contact
This is for help and instruction.


Step 6 & 7:

After clicking on First Step, You will get the screen number 1 of the setting page. Just press continue button twice move to the screen number 3 which is shown below. Here in the below screen you can see the number 3 on the screen. Turn ON the WiFi if it is OFF. It will show you as the WiFi status. So After turning on it will show you WiFi ON as right green mark as shown in below screen.

Step 8:

Now go for server setting. Press choose server button, which will redirect you to other screen. Which will show you the available WiFi server. If you are using inside your home then you can only one server which is your computer or laptop. It will show you the IP address of the system or computer. You need to select the your computer. It will also show you the name of your computer.

Step 9:

Here in my case you can see the 8440-HP as my computer name and 192.169.0.100 is my computer IP address. Select the 8440-HP computer to make connection with the application.
You are facing problem in this step!!!

Step 9A:

We have solution. You just need to run the Window Remote Service which you have installed from banamalon.net
Once you run the Window Remote Service, You will get the logs like this
Log-data saved to directory 'C:\ProgramData\Banamalon\WinRemoteService\log'.
********** Starting Windows Remote Service **********
[1:28:20 AM] Main service started on port 8655 (TCP)
[1:28:20 AM] Mouse service started on port 8755 (UDP)
[1:28:20 AM] [ERROR] Object reference not set.
See error.log file for more details
Still Problem!!
Then select the Tab Local Network, Setting, or Bluetooth (if connection using Bluetooth). In the Local Network Enable TCP/UDP Connection. In Bluetooth Tab Enable Bluetooth connection.

Step 10:

After configuring the required setting for WiFi or Bluetooth press continue. Then you can get the below screen saying congratulation message.

Mouse setting:

Go to mouse setting and set the required parameter as required by you. Use of mouse is very easy and similar to your mouse pad in laptop. You can change the scroll sensitivity if you need. Pinch zoom and middle mouse button is available.

Keypad Setting

In keypad setting, you can have general keypad to type your message which you can see on the laptop screen. you can type the entire document in word using these. Personally I have used this to write short message. You can also use voice recognition feature in the same application. So you just need to speak which you want to type.
Don't you think this is Interesting!!
I feel it interesting. It will have your time. It is very much convenience also. I feel that it is very much useful in many cases. If your voice recognition is powerful then you don't need any other thing.
I love to do it. You can just give a try..
Keypad screen will the same as your android keypad screen. In paid version of software you can do many things addition to this. But still for normal use this much feature is enough. Look at the below video to get more idea. Application is very much useful in many cases.

USE CASES:

  • If your tried and don't want to sit on chair but still want to work then this application is useful. You can sit on bed and use your mobile to control and type the things on computer. You will feel a bit relax.
  • If you are watching movie on your PC or laptop after that many times we need to control the volume. Every time we can not go to change the volume. Again It will take time to reach to computer. If you have this application then you can do it very quickly.
  • Some times our mouse and keypad of laptop will work as expected or breaking of some key will cost you much. To avoid such cases also you can use this application.
  • If your monitor display is bigger and you don't want to sit near to your display to protect your eyes.
  • Now a day many people will prefer mobile keypad and not laptop keypad due to much practice on mobile typing. They will feel more comfort to type on mobile and not laptop. Then this is for you people!

List of other application available for same use:

  • Andro Mouse
  • WiFi Mouse
  • Remote Mouse
  • Ultimate Mouse
  • Blue Mouse
  • Smart Sensor Mouse
  • Mouse WiFi
  • Lazy Mouse

Just give a try! let me know your review about it. I hope to see your review about it.
author-pic About author
hiiii......, this is ajay, woking as a technical engineer, a tech geek, enjoys ethical hacking

Read More »

0 comments
You can browse and download unlimited in Uninor connection with this latest trick.Uninor free gprs works With Mobile Phones.Uninor free Gprs working all over india
Follow below steps to access free Uninor GPRS internet connection in your Uninor mobile phones.

Create New Settings use below Settings
Name : Any
Apn(Access Point) : uninor
Proxy : 10.58.10.58
Port : 8080
Home Page : wap.myuninor.in.php.t9space.com

Save Above Settings and Restart Your Uninor Mobile Phone, and Connect free Uninor Gprs Internet connection in your mobile phones and enjoy.

Read More »

0 comments
New Mobile Server Software.......

MobileServer Commands

1. Join bots in room by sending user#pass#roomname#message in pvt of mobileserver id. NOTE- ID MUST BE MEMBER IN CHATROOM.

2. Bot commands for room:

NOTE-: USERNAME is bot id in room.
2.(a) send ‘USERNAME/@wc’ in room, to activate welcome bot.
2.(b) send ‘USERNAME/@wcstop’ in room to deactivate welcome bot.
2.(c) send ‘USERNAME/@dict’ in room to activate English Dictionary Bot.
2.(d) send ‘USERNAME/@hindi’ in room to activate Hindi Translation bot.
2.(e) send ‘USERNAME/@e2i’ in room to activate English to Indonesia Translation bot.
2.(f) send ‘USERNAME/@e2t’ in room to activate English to Tagalog Translation bot.
2.(g) send ‘USERNAME/@e2f’ in room to activate English to French Translation bot.
2.(h) send ‘USERNAME/@e2it’ in room to activate English to Italian Translation bot.
2.(i) send ‘USERNAME/@silent’ in room to hang it in room.
2.(j) send ‘USERNAME/@start’ in room to activate it in room.
NOTE-: USERNAME is bot id in room.

3. send ‘USERNAME/@automember’ , it will automatic grant member to new users in room. NOTE-: ID MUST BE ADMIN/OWNER.

4. send ‘USERNAME/@automemberstop’ , To stop granting automember.

5. send ‘USERNAME/@bible’ , To start Bible verse in room.

5(a). send ‘@b 1′ to ‘@b 66′ select Bible Book from 1 to 666. send ‘USERNAME/@stopbible’ , To stop bible verse in room.

7. send ‘USERNAME/@banflood’ , To ban all new flood coming in room.

8. send ‘USERNAME/@banstop’ , To stop ban bot in room.


ENJOY MOBILESERVER....


                                                        Download Here

Read More »

0 comments
Method 1 (Difficult):


Here is a step by step instruction to use a laptop as WIFI Router and access Internet through it on any other WIFI enabled device in ad-hoc mode :

1. Go to Start, Control Panel, Network Connections. Right click the wireless connection (it should be called “Wireless Network Connection”) and select properties.

2. On the window that will show up, click on the Wireless Networks tab. Make sure that no wireless networks are being listed under "Preferred Networks". If you see networks there, remove them one by one.

3. Click on Advanced button.Select “Computer-to-computer (ad-hoc) networks only” and click on Close.

4. Now click on Add. It is thru this window that we will create our wireless network. You will need to fill out the following:
Network Name (SSID): This will be the name of your network. This is how your computers will call your network.
Network Authentication: Open.
Data encryption: WEP.
Uncheck the “The key is provided for me automatically” box.
Configure your network key. This is a password that will be used to encrypt data transferred on your network, preventing neighbors from surfing the web for free and also preventing people to view or even delete your files, if file sharing is enabled on your network. You must fill this field. The key must have five alphanumerical characters.
5. After clicking Ok, you will see your network listed under Preferred Networks. Your network will still be listed with a red “x”, this is absolutely normal.

6. Now you need to share your Internet connection. Pay attention because this is done on network card that has your broadband Internet connected, not on your wireless network card. Go to Network Connections (Start, Control Panel), right click the network card where your broadband Internet is connected to and then choose Properties. On the window that will show up, click on Advanced tab.There, check the “Allow other network users to connect thru this computer’s Internet connection” box and make sure that the “Allow other network users to control or disable the shared Internet connection” is unchecked.

7. Click Ok and now you will see “Shared” under the name of the network connection where your broadband Internet is connected to (usually called “Local Area Connection”). Your wireless connection will still be listed as “Not Connected”; this is absolutely normal. It will only change to “Connected” after any other computer has joined your network.

8. Now that your host computer is correctly configured, you need to configure the other computers that will have access to your wireless network.Now that you have configured the host computer, it is time to configure the other computers that will have access to your wireless network. This configuration is very simple; just follow these very simple steps:

9. If you configured your host computer correctly, your wireless network will now be listed on the available networks list of all computers that have a wireless network card within the range of the card installed on your host computer. Just click the wireless network icon available on the task bar or double click your wireless connection on Network Connections (Start, Control Panel) to see a list of wireless networks available.

10. After double-clicking your network, Windows will ask you the network encryption key.

11. After clicking Ok, your network status will be listed as “Acquiring Network Address” and then it will change to “Connected”.

12. After this point you will have access to the Internet using the Internet connection available on your host computer. Test your network by opening your web browser (Internet Explorer, Firefox, etc) and trying to open a well-known website like Google.

13. Now on your host computer its wireless connection will also appear as “connected”. Like we said before the wireless connection on the host computer will appear as “connected” only when other computers are connected to it.

14. In order to prevent instability issues on your wireless network, we recommend you to remove all other networks that may appear listed under Preferred Networks on all computers. This can be done right clicking your wireless connection on Network Connections. (Start, Control Panel), selecting Properties, then on the window that will show up click on Wireless Networks tab. Remove all other networks listed under Preferred Networks but your own network.

Method 2 (easy) :
                            
1.Download "Virtual WiFi Router" from http://virtual-wifi-router.en.softonic.com/download

2.Configure Settings like below apeared screenshot.


3.Keep your laptop's and mobiles' wifi on 

4.star it ..enjoy... 


Read More »

0 comments
Hi Guys After Several Research and Trial, 
See The Feature Of This Trick Below :
1. Without Any Proxy Or VPN.
2. Speed Up to 5.4Mbps.
3. No Disconnection Problem.
4. Also Supports Torrents Uploads And Downloads.
5. Downloading Speed Up to 400-800Kbps


Since It Is Working The File Is Locked In Survey, So Kindly Complete the Survey To Download The File.


Note: Please Do Not Share This Trick With Your Friends, and Please DO NOT OVER DOWNLOAD since it is UNLIMITED, Because Aircel Can Track This and BLOCK this Trick Anytime.


Proof:


Download The Trick From Below


Read More »

0 comments
Hello guys.. 

Direct to the point.. 

You can get free 3G in your old BSNL sim just using special APN. 

------------------------------ 
south user connect using 
Apn : 
gprssouth.cellone.in 

------------------------------ 
north user connect using Apn : 
gprsnorth.cellone.in 
------------------------------ 

working on 0 balance on old bsnl sim. 

Read More »

0 comments

reliance tricks

dear visitors and my lovely friends. today i  am found a new and high speed unlimited working 3g proxy trick for reliance. this proxy give you very high speed gprs in your area. this proxy very fine work in Gujarat, Mumbai and Karnataka. this proxy also use any opera mini handler as beck query proxy.please try it in your state and send me to your reply.

features of reliance unlimited high speed 3g trick 2013

  • support torrent site
  • support http and https proocol
  • both support 2g and 3g mode
  • also support mobile and desktop/laptop/
  • unlimited downloading 
  • work with minimum 2rs balance
  • stream you tube video

 how to config.reliance unlimited high speed 3g trick 2013

first create new profile in your mobile phone
  • name -------------------------- freegat ( free gprs and tricks )
  • apn ----------------------------- rcommms
  • proxy --------------------------- 203.21.52.125
  • port ------------------------------ 80
  • home page ------------------------ Google.co.in 
Note --- if any problem comment it.

Read More »